Sunday afternoon and time for tea. It just seems the right thing to do. On a cold Sunday afternoon. With raisin bread. So comforting.
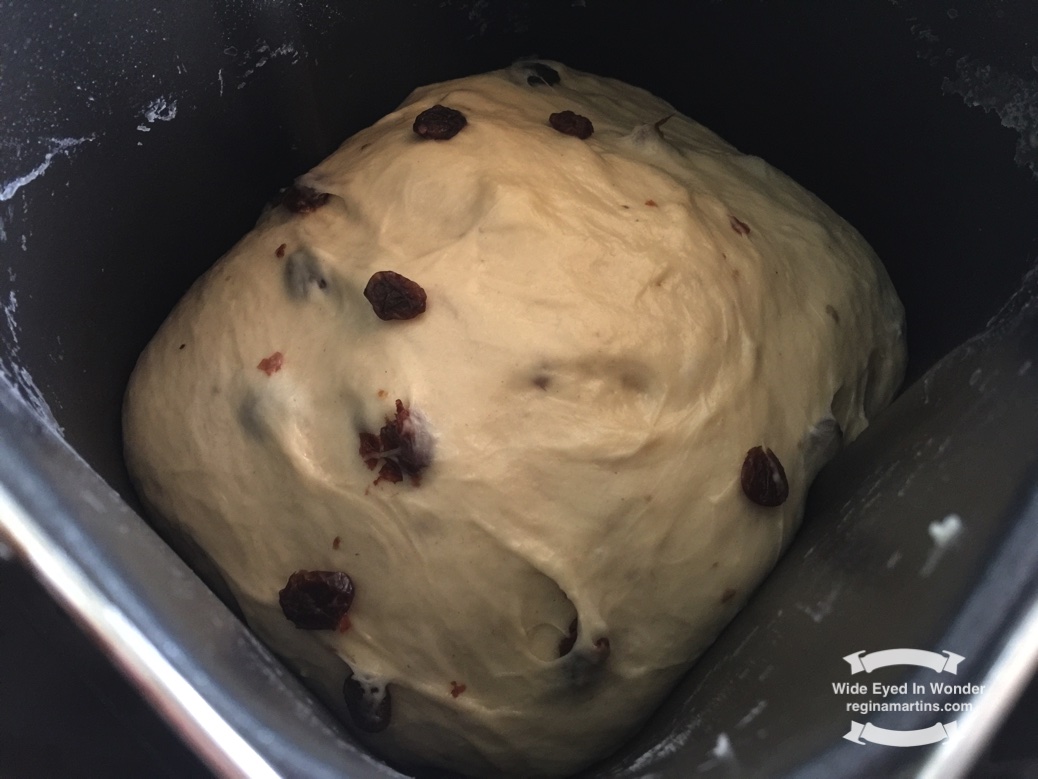
The raisin bread is busy rising. I use a bread maker from start to finish. Che and I have not regretted buying this wonderful machine. The recipe is simple – it’s not my original but the one that comes with the bulk packs of sticks of 7g dry yeast.
Place ingredients 1 to 8 – in the order written above – into the bread machine pan (make sure the paddle is in position and secure) – the first time I made bread I forgot to put in the paddle and was quite surprised when the ingredients weren’t mixing.
Select setting 5 or sweet setting on your machine. Select loaf size (900g/1lb/1.5lb – I chose a 1lb loaf) and colour setting.
Press start.
Method – step 2:
When the ingredients have mixed well and the machine beeps to indicate it is going to start the knocking down stage and that new ingredients can be added – open the lid and add the raisins.
Method – step 3 – it’s optional but I like to add it:
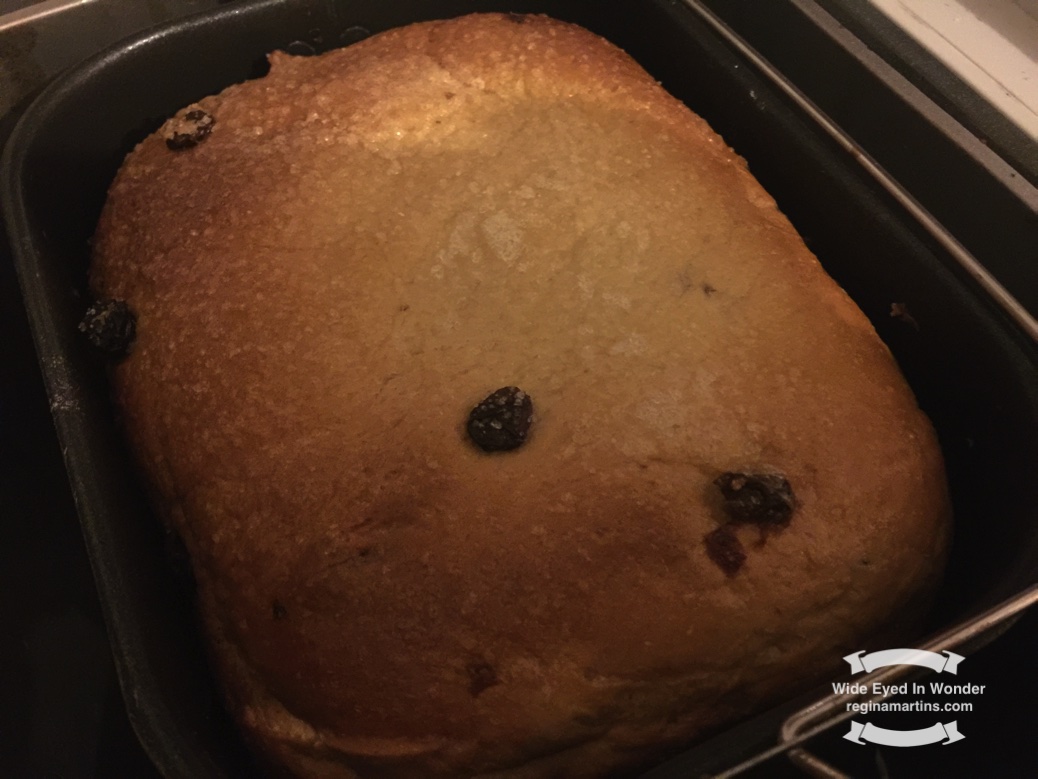
When the time shows 1h15 on the machine open the lid and brush the top with milk and sprinkle with sugar for a golden crust.
And there you have it. Wait for the machine to finish, let it cool only a bit, about 10 minutes or so, turn out the loaf and enjoy. With hot steaming tea.
The recipe recommends to glaze the loaf with a sugar water mix for a shiny finish but I don’t do this, the sugar sprinkles are enough. It’s not meant to win any looks competitions. But it does look good, don’t you think?
After posting this pic on social media yesterday I got a few requests for the recipe. As I began writing down a recipe that has been handed down mostly experientially I got to reminiscing how it came to be part of my family’s food history.
A post shared by Regina Martins (@reginatmartins) on
These are my memories of that time, and names have been changed to protect the innocent.
Mrs S was an Italian lady I met when I was a child. She taught my Mom how to make this sauce and it’s the only recipe we ever use. Mr S was my Dad’s employer, very rich, very very very fat, and had a mistress he openly and unashamedly ‘dated’.
Where Mrs S was matronly in appearance, the mistress (we’ll call her Donna G) was a blonde version of Sophia Loren. We got to meet both of them, not at the same time, although each lady knew of the other’s existence. Both ladies were friendly and pleasant to me.
I remember being quite confused by this situation, and I remember my folks explaining things to me in a way that my 9-year old self could understand.
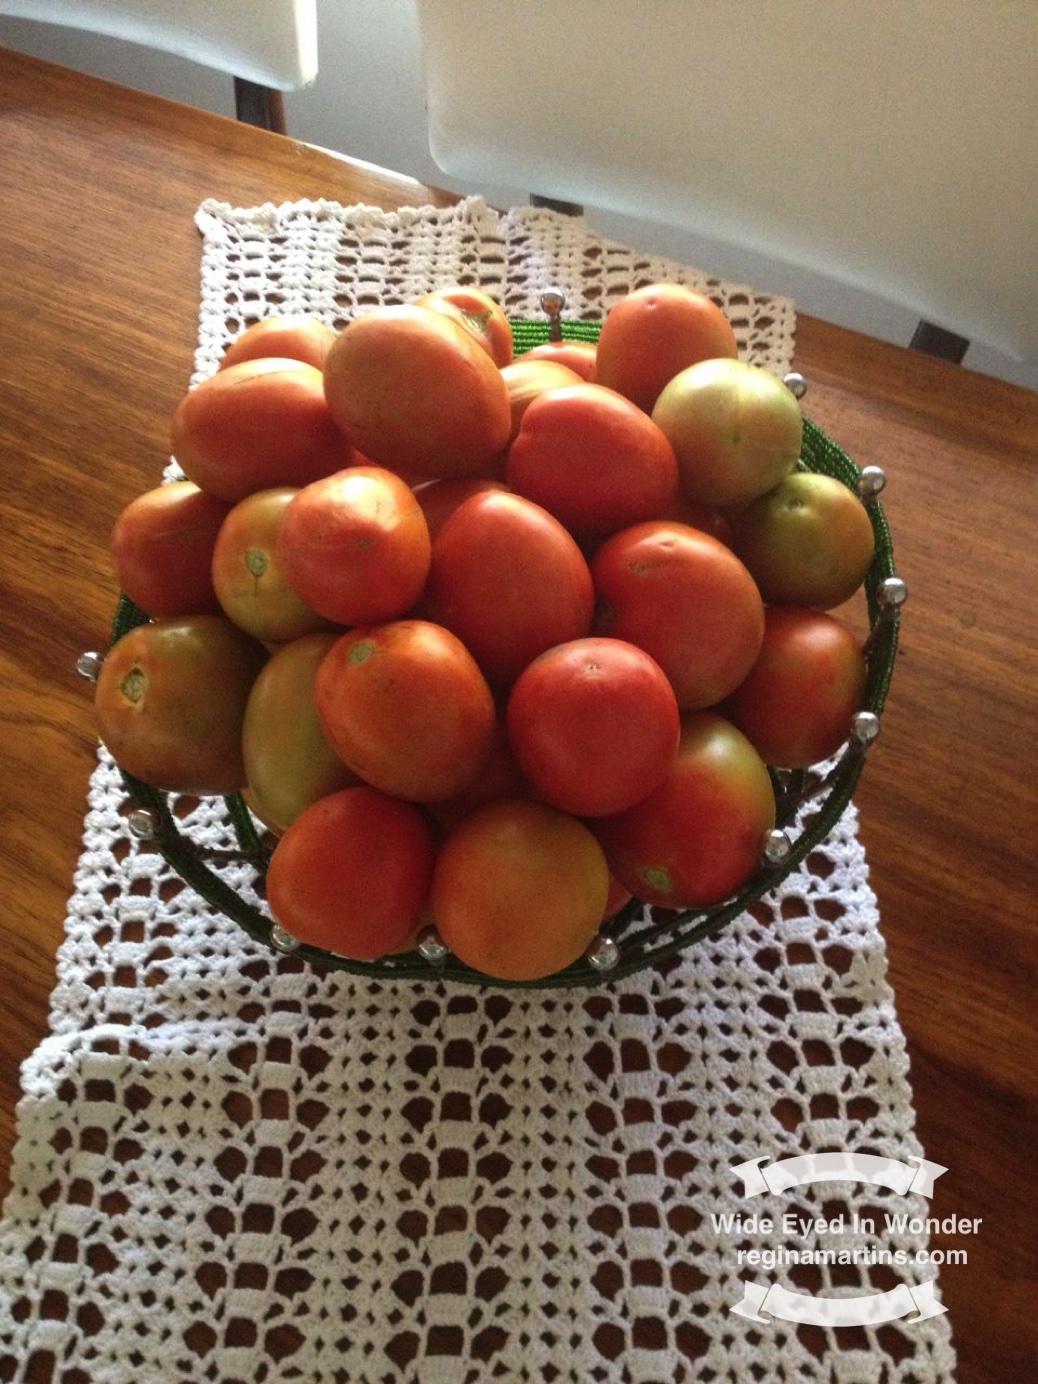
My folks have a bumper crop of tomatoes this year. They’re growing all over the garden, amongst the flowers and bushes. I love the idea of a garden being both beautiful and edible, and my folks certainly have this.
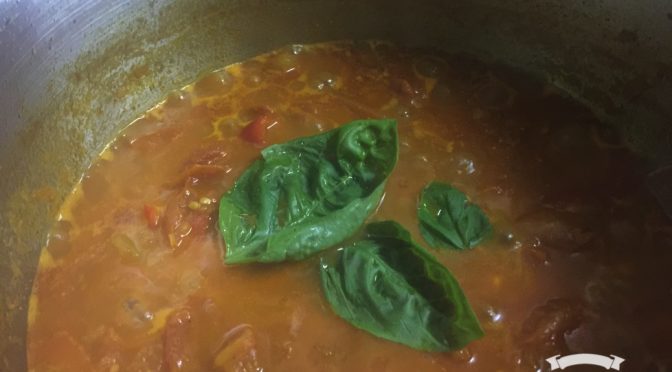
The secret to this recipe is to layer or build the flavours and the simmering allows them to develop and deepen.
The longer it simmers the deeper the flavours allowing them to develop. The best sauces have simmered on a low heat for 1- 2 hours – this takes courage.
Mrs S’s Italian Sauce Recipe
Ingredients:
Onions, lots, chopped
Tomatoes, lots (peel, pips and all), chopped coarsely or quartered or sixth’d if large (I used about 15 – 20 medium ones – see pic above)
Red paprika pepper – half a one – coarsely chopped
Red wine, to taste
Salt
Cracked black pepper
Sweet paprika powder, 1-2 tsp
Cumin powder, 1 tsp
Coriander powder, 1 tsp
Olive oil
Garlic to taste, chopped
Basil leaves – optional
A note on the onions - the more onions the better, thicker and tastier the sauce - I usually put between 3 and 6 large ones, white ones (never tried it with red, I’m sure it’s lovely).
Method:
Chop the onions finely – I prefer using the food processor for this.
Heat the oil in a large pot (oil quantity, Jamie Oliver style, glug glug glug…). Once heated, add the coarsely chopped paprika pepper and the paprika powder, and turn the heat down slightly.
Allow to soften a bit then add in the onions and stir to coat with the oil and paprika mixture (the oil will be a yummy reddish colour). Braise until soft.
Add the cumin and coriander powder and mix. Coriander tends to absorb the oil, so keep an eye on this. Let fry for a minute.
Add the tomatoes and garlic and mix well. Allow the flavour to develop for about 5 minutes.
Add the wine, salt and pepper. Stir well.
Allow to simmer on a low heat for a looooong time.
Keep stirring every once in a while. If it starts to slightly stick to the pot (slightly, not burn), just stir it loose, this is part of the layering of flavour. Remember the courage bit. Wine helps (drinking it, not adding more as this will just make the sauce too liquid. Drinking it on the other hand helps with the courage).
At the end of the day it’s about what it tastes like to you. The moment it tastes yummy, it’s done. When done, stir in whole basil leaves.
I like to blend it to make the sauce into a smooth consistency. Leave chunky if you wish.
Tip: If the tomato is too acidic, add 1 tsp of sugar.
By far the most popular use of this sauce is over pasta and I confess that this is my favourite pasta dish of all time, plain, with lashings of parmesan cheese on top. Che and I will also be using it when we make pizza.
So there you have it!
Hope you enjoy it as much as I have cooking and especially eating it. Let me know how it turns out.
Feel free to Like or Share this recipe.
Mozambican-born Portuguese South African; reflecting on travel, writing, editing, life, family and change that has social impact; chief wide eyed in wanderer, wonderer and bottlewasher